Welcome back to the next installation of How to use the Ouster Python SDK. Based on popular demand, in this blog post, we will demonstrate how to use Anaconda to simply and quickly prepare a virtual environment with Python to run the Ouster Python SDK.
Anaconda is a popular platform for data scientists to manage different Python and R packages for their analytics needs. To support version control of libraries and codes, Anaconda has a built-in “Environments” feature that we will utilize to set up a virtual environment. First, let’s download and install Anaconda on our machine.
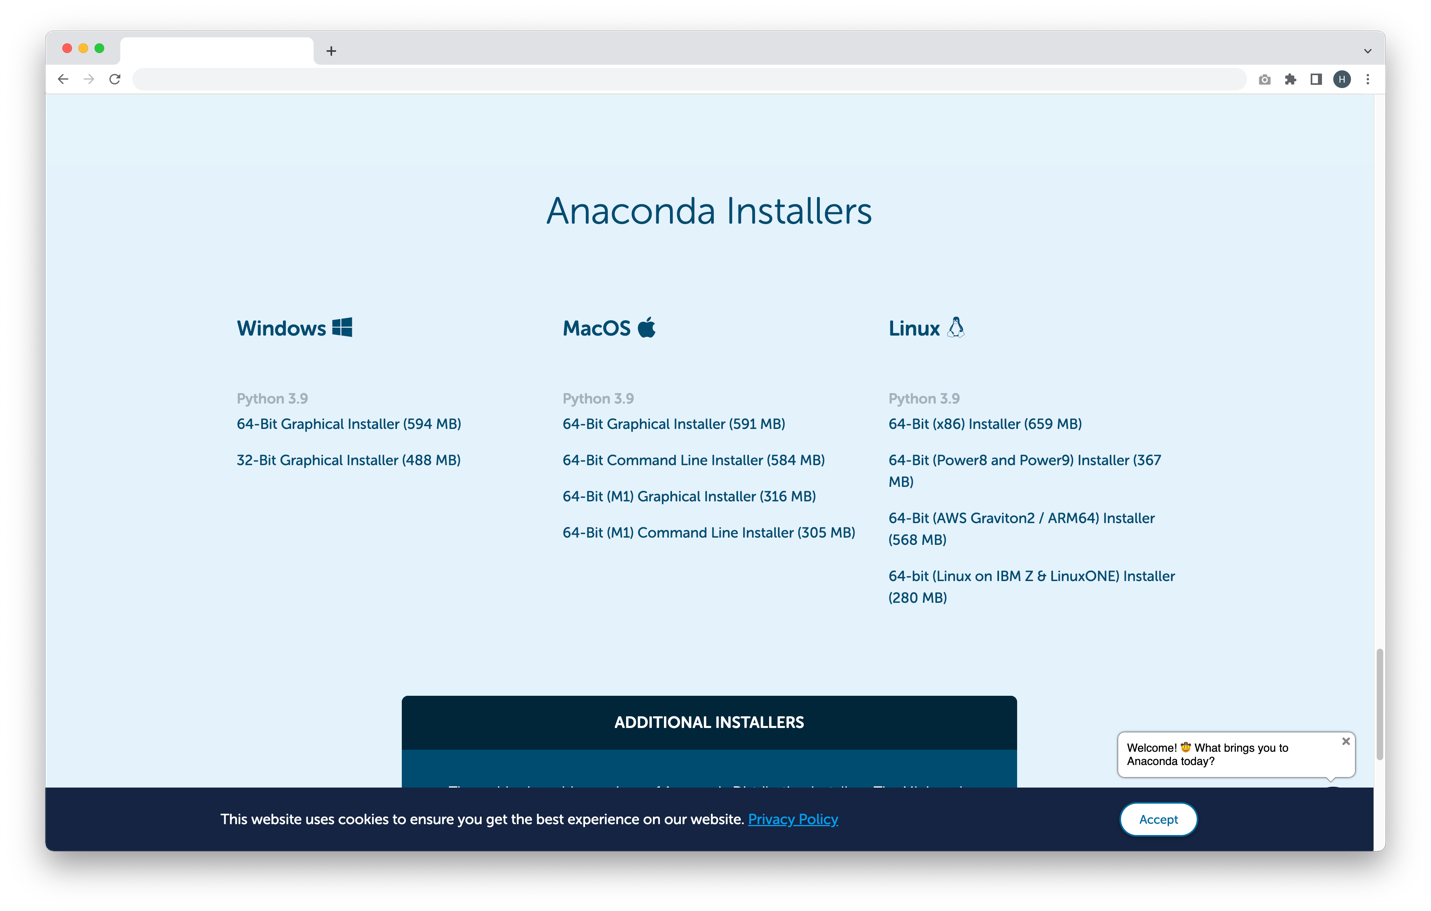
Anaconda is available for Windows, macOS, and Linux so choose the right version and install it on your machine. When you open Anaconda Navigator, a home screen with different applications will greet you. We’ll be using the Jupyter notebook in future posts, but today, let’s go to the “Environments” tab.
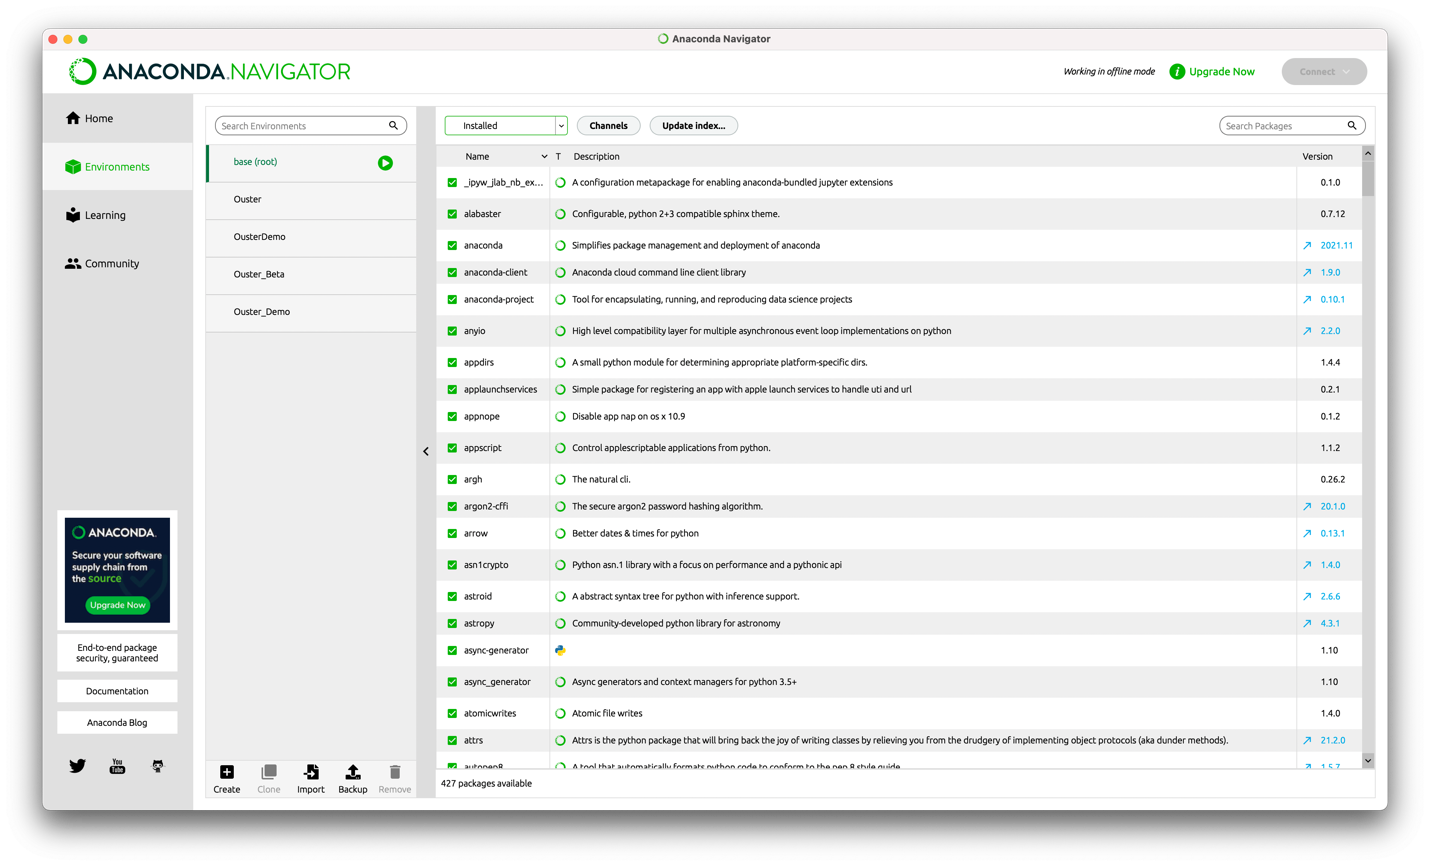
This is where you will be able to create virtual environments. For the first time users, you’ll only see one environment which is your base environment that came with your computer. On the right, you will see different packages installed for the selected environment. To create a new virtual environment, click on the “Create” button at the bottom.
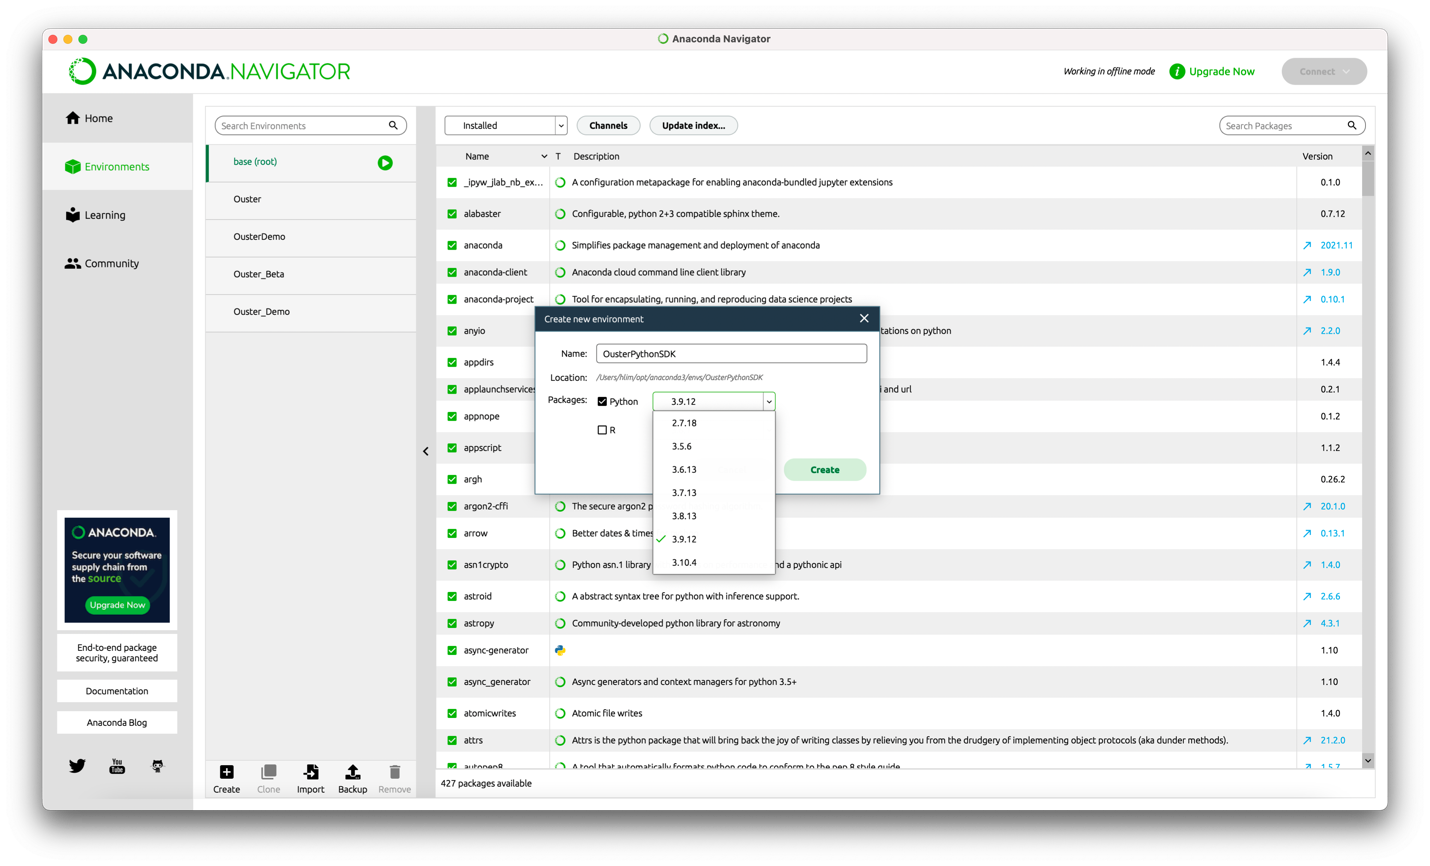
You can give your environment a name and choose the right Python or R version for that environment. For the Ouster Python SDK, the minimum requirement is 3.6 (3.8 for Apple Silicon Macs) so you can select any version above 3.6.13. However, not all libraries support 3.10 at the time of writing, so let’s select 3.9.12 as a safer option and click “Create.”
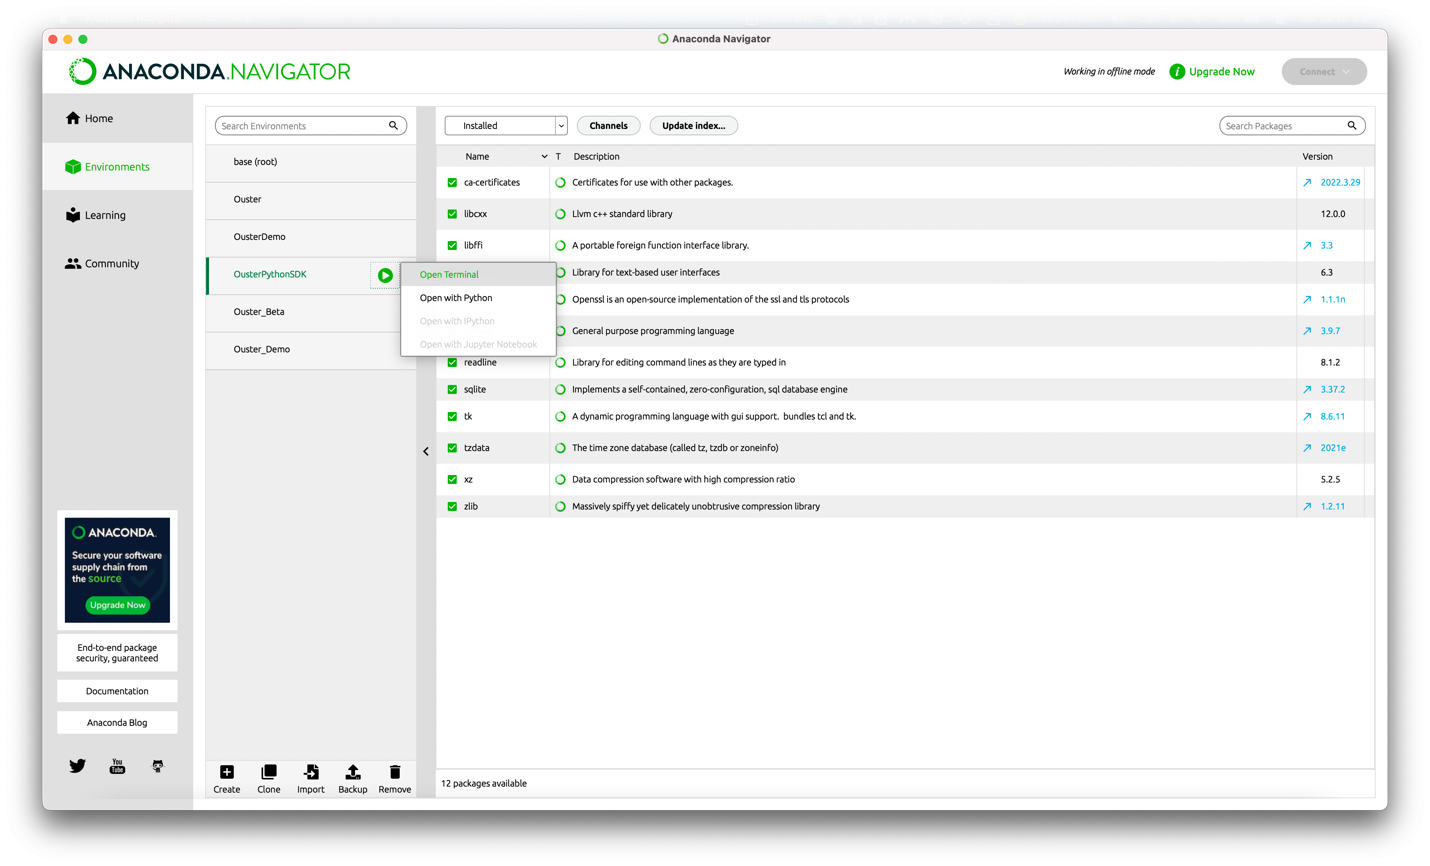
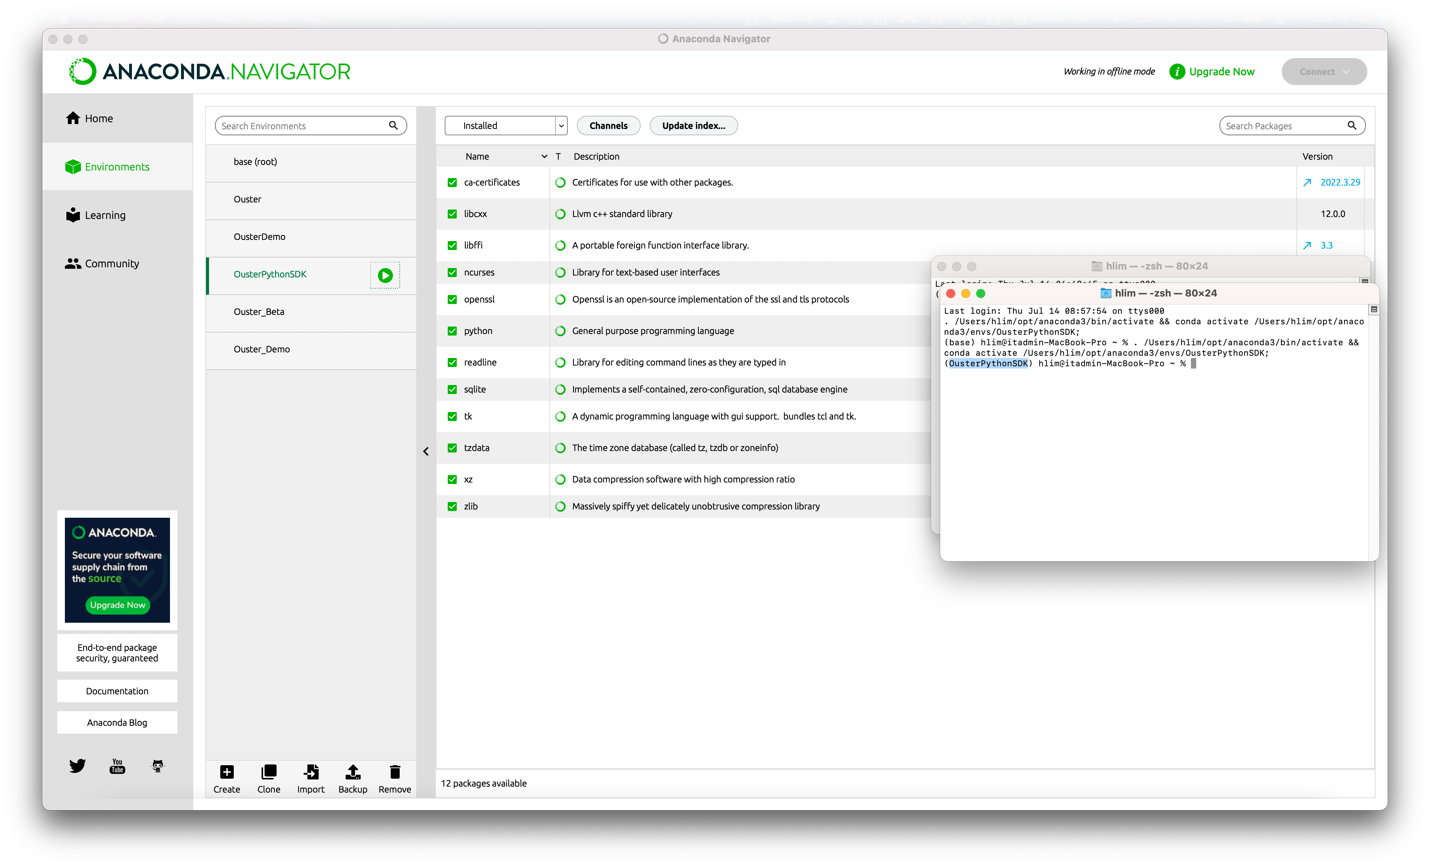
Once the environment is set up, we can open a command line interface for the environment by clicking the play button, which is Terminal for Mac shown in this example. You can verify that you’re in the correct environment by checking the name in the command window as shown below:
Before we install the Ouster Python SDK, you might need to install pip. Getting pip installed on your machine will depend on the operating system which is explained here. Once pip is installed, you are now ready to install the SDK.

When you are done, you can verify the installation by running “pip list” in the terminal or clicking “Update Index” in Anaconda.

If you see ouster-sdk as shown above, it’s time to launch the Ouster Viz in the terminal. It’s easy to navigate through folders and type in the file names in the terminal, but there’s an easy way: drag and drop.
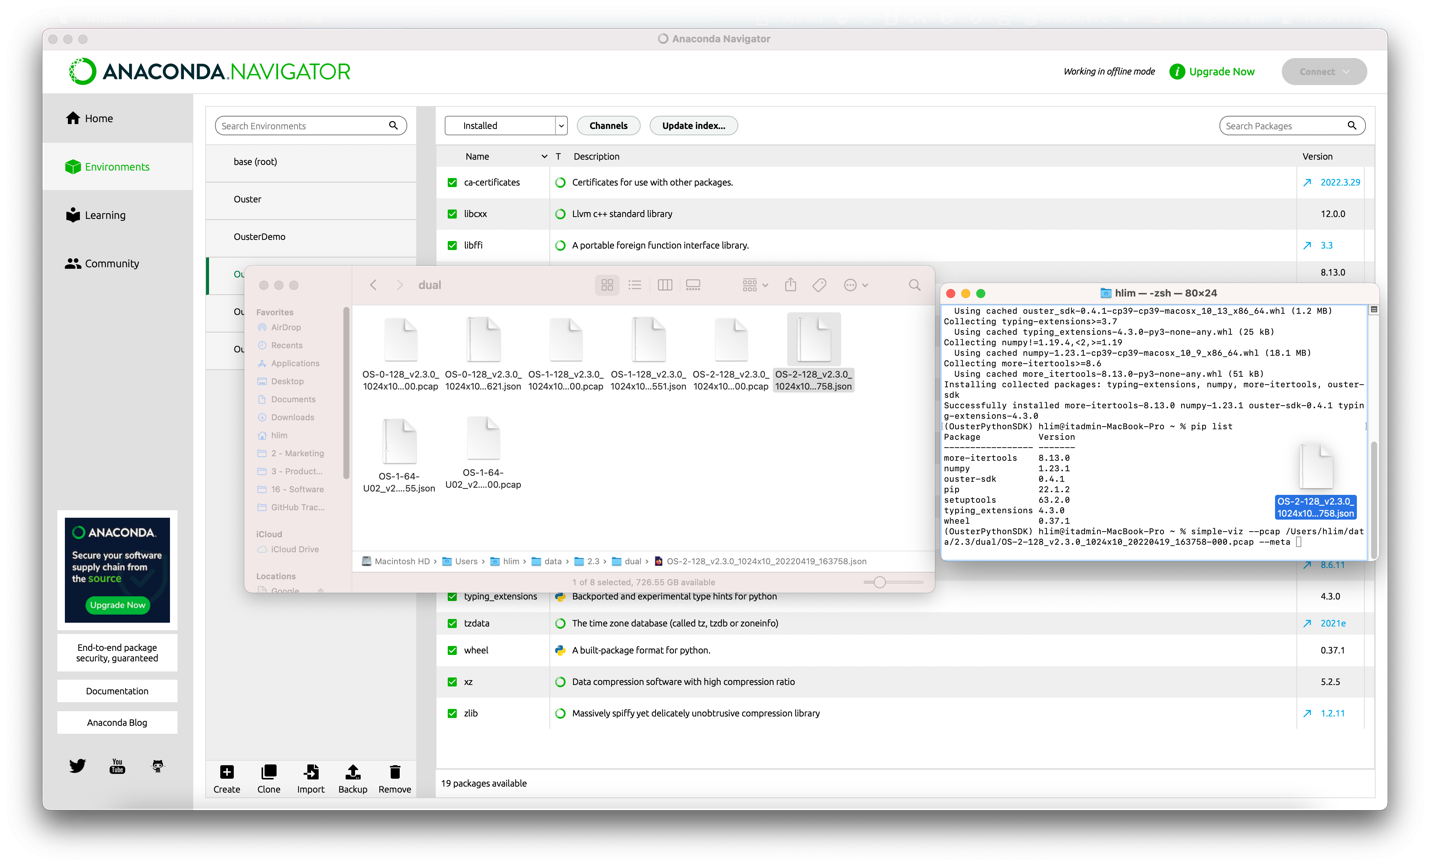
As you type in the command, simply drag and drop files after ‘–pcap’ and ‘–meta’ from the finder and hit return. Voila! You’ve successfully managed to install Anaconda, create a virtual environment, install the Ouster Python SDK, and run the Ouster Viz! Congratulations!
Now, you can record and replay the point clouds you capture with our lidar sensors. If you would like to try more visualizations, head over to our sample data library. If you don’t find the sample data that fits your use case, feel free to contact us. We would love to help out!