

Windows
Tested on Windows 10. The sensor hostname is os-991234567890.local (serial number on the sticker on top of the sensor).
Connecting the Sensor
- Connect the sensor to an available Ethernet port on the host machine or router.
- The sensor automatically obtains an IP address via link-local or DHCP, depending on network configuration.
Note: It can take up to 60 seconds to obtain an IP address after initial power-up.
The Sensor Homepage
- Enter
http://os-991234567890.local/in your browser’s address bar to open the sensor homepage.
Note: If the sensor homepage does not load, follow the steps in Determining the IPv4 Address of the Sensor to verify the sensor has a valid IP address.
Determining the IPv4 Address of the Sensor
-
Open a Command Prompt by pressing Win+X, then A.
-
Ping the sensor to find its IPv4 address:
Command
Example
Note: If this command hangs, configure your interface to link-local first.
Response
Note: In this example, the sensor IPv4 address is
192.0.2.130. An address of the form169.254.x.xmeans it is connected via link-local.
- Alternatively, resolve the sensor IP using
dns-sd:
Command
Example
Response
Note: An address of the form
169.254.x.xmeans the sensor is connected via link-local.
Determining the IPv4 Address of the Interface
-
Open a Command Prompt by pressing Win+X, then A.
-
View the IPv4 address of your interfaces:
Command
Example
Response
- In this example, the sensor is plugged into interface
"Local Area Connection". - The host IPv4 address is on the
IP Address:line — here,169.254.1.100.
Note: An interface address of the form
169.254.x.xmeans Windows self-assigned a link-local address in the absence of a DHCP server.
Setting the Host Interface to DHCP
Set the interface to obtain an IP address automatically via DHCP. Useful for plug-and-play setups.
Command
Example — with interface name "Local Area Connection":
Response: (no output)
Setting the Host Interface to Static IP
Assign a static IPv4 address to the interface. Useful when the sensor must send data to a specific IP.
Command
Example — with interface name "Local Area Connection" and IPv4 address 192.0.2.1/24:
Note:
/24is shorthand for Subnet Mask255.255.255.0.
Response: (no output)
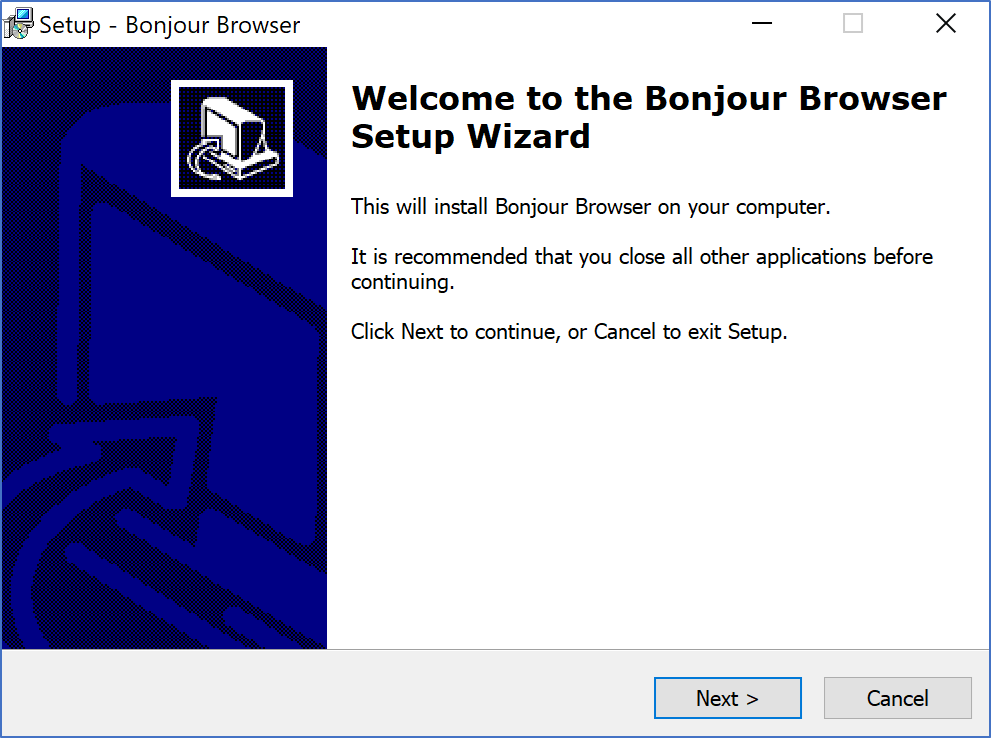
Finding a Sensor with mDNS Service Discovery
The sensor announces itself on the network via mDNS with service type _ouster-lidar._tcp. Use Bonjour Browser to locate all sensors on Windows.
Example using Bonjour Browser:
Step 1: Download Bonjour Browser.

Step 2: The sensor appears under _ouster-lidar._tcp. Click it to view all sensor details.